Skydive Gear
Skydiving Gear Blog Articles and Expert Advices from the skydiving expert at ChutingStar Skydiving Gear SuperStore!
-
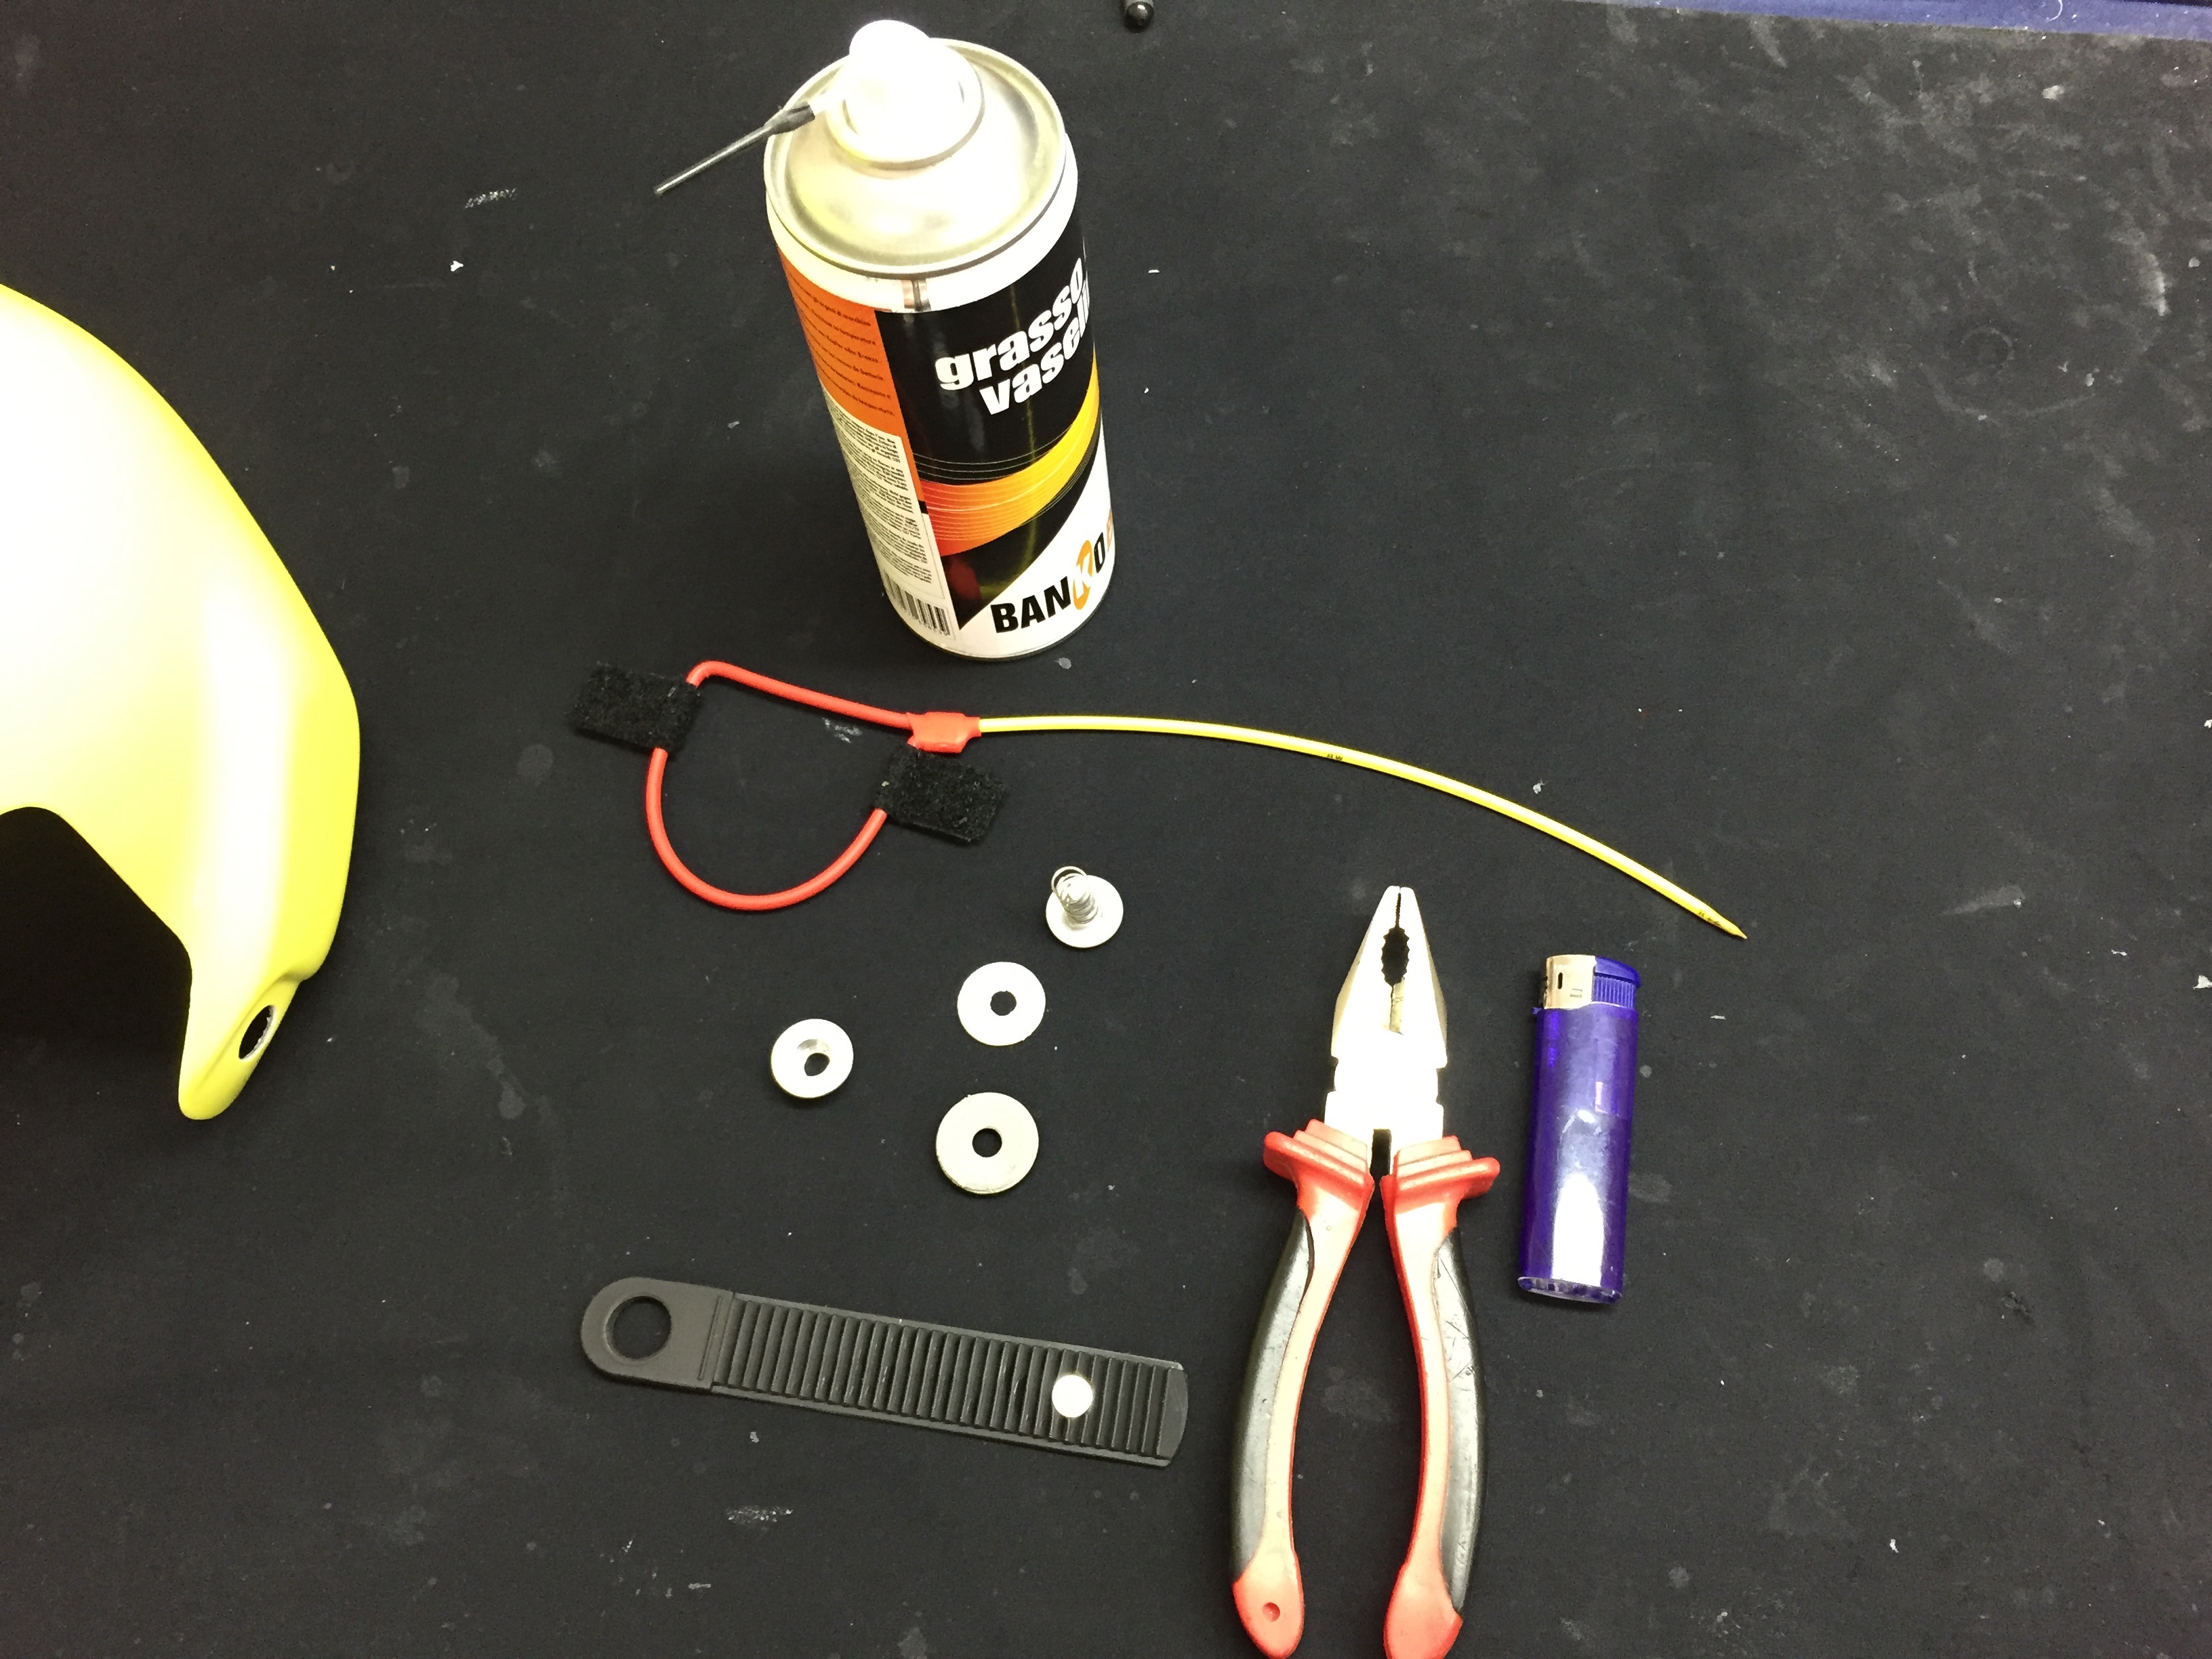
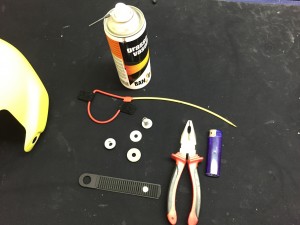
Skydiving Camera Helmet Mounting Tips
(Published in Blue Skies Magazine) So you’ve racked up those first 200 jumps and you’re itching to throw a camera on your head…or it could be you’re looking to delve into video work to break up the monotony of tandem and AFF jumps…or maybe you’ve finally traded in that old camera setup from the ’70s, and you’re ready to try one of these new-fangled camera setups. In any event, you decided you would just order the new cameras, helmet, box, quick-release, indicator lights, bite switch and the like and assemble it yourself. It can’t be that hard, right? A drill, a screwdriver, maybe some gaffer’s tape, and you’re ready to go. The only problem is, now that you have all the parts in front of you, it’s not making a lot of sense. And you’re a little worried about drilling into your $400 camera helmet and screwing it up so bad that you would have to buy another one. Continue reading -
X-Shut Flush Installation Guide
Start by marking the center of where the mount will be installed. Use a 45mm hole saw to drill the hole for the X-Shut Integration Kit. Insert the outside piece of the integration kit along with the X-Shut base from the outside and mate with the bottom piece of the integration kit from the inside of the helmet. Screw together with the appropriate length of screw (provided with mount). Continue readingThe X-Shut camera mount can be installed on a flat or curved surface with a flush mount by using the Integration Kit. The video demonstrates how the installation is completed. -
Main Pilot Chute Installation
This Cazer pilot chute came with two metal links. We prefer to substitute those two metal links with a PD Reserve Slink and a PD Main Slink. The reserve soft link is used to attach the bridle to the inside of the main D-bag. The main soft link is used to attach the end of the bridle to the top of the canopy. Continue readingHere's some info and a video of installing one type of main pilot chute. While each main pilot chute may have a slightly different attachment part, the general idea is the same. -
Hidden Sharp Edges In Your Container
(Published in Blue Skies Magazine)
Hidden behind flaps, under grommets and inside your container are tiny pieces of metal that can end your Sky God status in a hurry. In an ideal world, all the metal in skydiving is polished, shiny and smooth as silk. But manufacturing issues, abnormal wear and just plain sharp edges can lead to frayed and broken loops in your main and reserve container. The inspection is easy; a little bit of time and some basic knowledge on what to look for will go a long way in keeping your container closed when you need it to be. You can also save yourself from having to constantly replace your loops.
Continue reading -
Harness/Container Washing Tips for Riggers
Washing your harness/container every few years can keep your investment looking brand new. You'll be surprised how clean and bright a used container can get with a thorough washing. Below are tips and a step-by-step "how to" guide for washing your harness/container. These tips have been taken from several manufacturers, riggers and my own experience of washing a few hundred rigs over the past 10 years. Continue reading -
Tonfly Cutaway System Install Instructions
The Tonfly Cutaway System install with materials needed, photos, instructions and video.
The install can be done at ChutingStar if you don't have all the tools. Or if you do have all the tooling, just follow these instructions, photos and video.
All the necessary things to install the cutaway system. Items needed to install Tonfly Cutaway System:
Continue reading -
PD Slinks: Identification, Wear, and Other Uses
Reserve Slinks have a yellow tab with an SR-1 identifier. The Spectra is thicker and longer than the main Slink. Main Slinks have a white tab with an SM-1 identifier. The Spectra is thinner and shorter than the reserve Slink. Continue readingPD Slinks come in Reserve Canopy and Main Canopy versions. -
PD Slinks: Installation without Bumpers
Assemble the Slink normally with two passes through the lines/riser. Position the tab centered inside the riser and push toward the top of the riser. Continue readingTo install PD Slinks without the bumpers so you can bring the slider down to the base of the risers you will want to tack the tab inside the riser. -
Installing PD Slinks with Bumpers
Put the bumper over the riser and open up a pathway with your fingers for the Slink to pass through the riser. Route the Slink through the line group (in the correct continuity) and the riser twice. Routed the end of the Slink through the hole at the hole at the bottom of the tab and then insert the tab through the loop at the end of the Slink. This creates a larks head knot. Pull tight and hide the tab inside the riser. Continue readingThe PD Slink bumpers keep the tab hidden in the risers, keeps the slider at the top of the risers after deployment and focuses wear on the bumper instead of the riser. -
CYPRES2 C2 0113 Service Bulletin Update
July 2013 CYPRES2 Service Bulletin. IMPORTANT Follow-Up to CYPRES 2 Service Bulletin C2 0113 – Additional included serial numbers and other important information. In a follow-up to Service Bulletin C2 0113, beginning this month (July 2013), Airtec GmbH & Co. KG and SSK Industries, Inc. are accepting CYPRES units affected by the Service Bulletin for premature updates. In order to proceed in an orderly manner and to not create a backlog, which would delay the return of your CYPRES, only units which were manufactured from September 2012 to December 2012 are being accepted at this time. Continue reading