Canopy Patching Simplified
(Originally published in Skydiving Magazine)
Learning how to patch torn canopies was a trial and error process for me when I first got into parachute rigging. I had to sew a so-called "basic patch" in rigging school on a damaged piece of fabric, but that in no way prepared me for working on real damaged parachutes when I bought my first sewing machine.
I would probably be embarrassed if I ever came across my first 20-30 patches. Opening a drop zone loft meant I got enough practice and work that I just eventually became proficient at patching damaged canopies. But it took me about a year, 30-plus patches, and several visits to other riggers for lessons, tips and tricks to get to that point.
Fast-forward to now and I'm very comfortable, efficient and fairly fast at patching a damaged canopy. Yet I see the same pain and frustration in other rigging students or riggers who don't patch canopies very often. So when Red Payne of Flight Concepts called me about a set of canopy patching tools he had helped develop, I jumped all over purchasing a set.
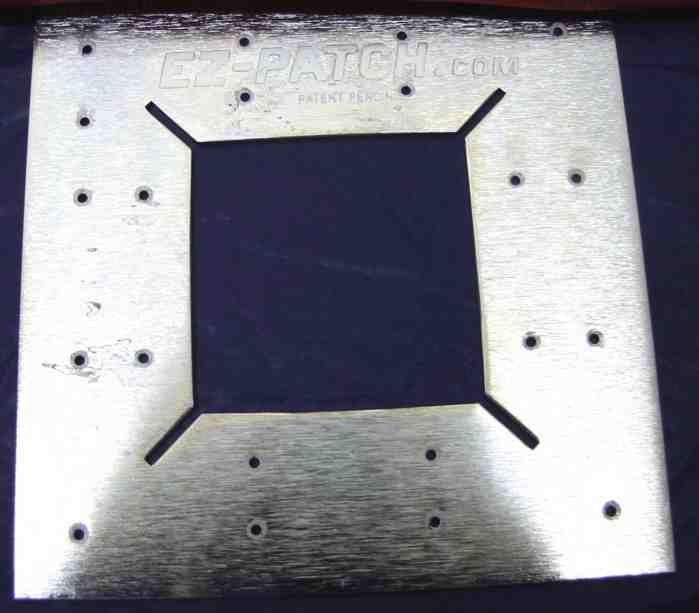
The canopy patching tools, called EZ Patch, are actually a set of 2 square templates to use on a variety of different damage areas on a parachute. The metal templates have two rows of holes on each side along with a 45-degree angle slit on the inside of each corner.
On the day I first used the EZ Patch templates, I had a canopy that had three areas of damage. The first step is centering the smallest possible template over the damage, marking the alignment holes and hot knifing out the damage along the inside of the template. After experimenting with my normal chalk pencil, I found a contrasting color of a fine permanent marker to work best. The alignment dots are critical since everything is cut exactly to size before the first stitch.
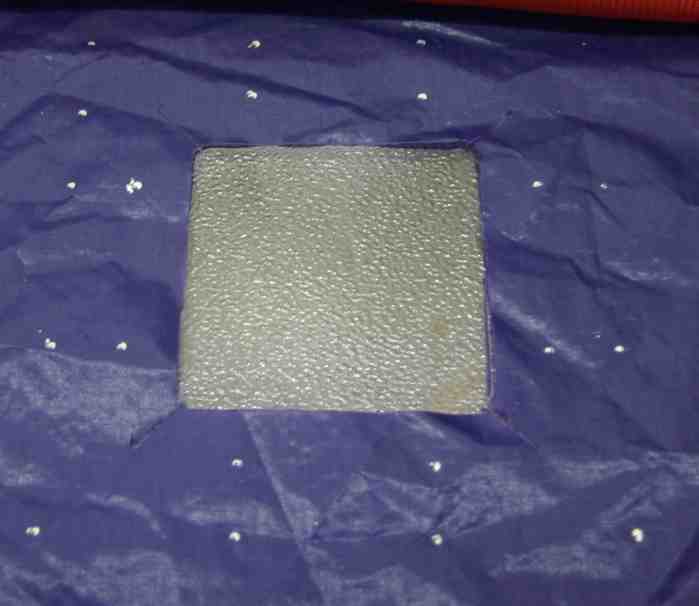
The second step is using the same template on a raw piece of fabric that will be used for the patch. The same alignment marks are made and this piece of fabric is hot knifed along the outside of the template.
For both of these steps, its important that the fabric is laid out flat and I would recommend weights as needed to keep everything in place during the marking and cutting process. If your marks are off, the patch will not sew in correctly.
It's now time to sit down at the machine. It's also imperative that your machine is setup correctly for what you are sewing. No amount of tools, tips or tricks can help you if the machine (or operator) is not working properly. Practice on the same type and thickness of scrap material to insure the machine is working properly. Also make sure you have a good, sharp needle and a full bobbin.
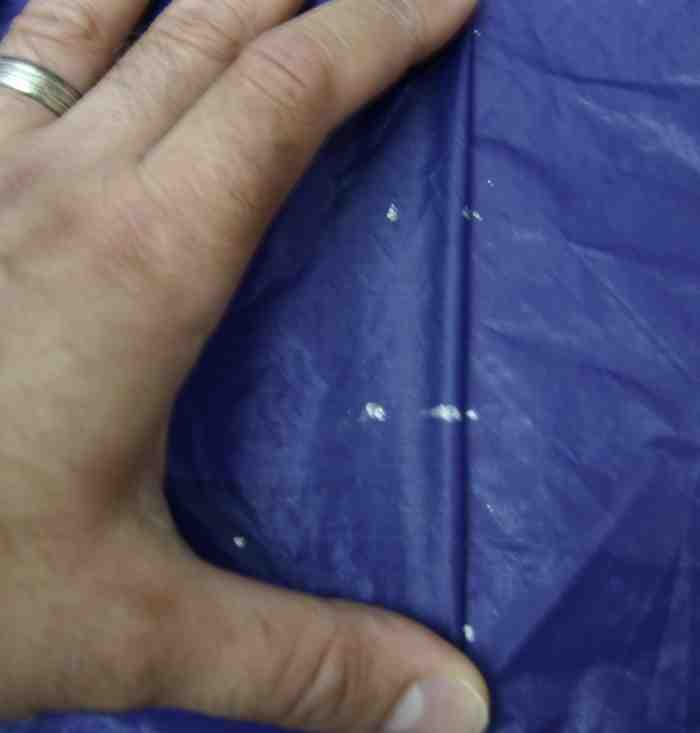
One of the greatest things about the EZ Patch system is that once you sit down at the machine, you don't have to cut anymore fabric. You just have to sew. Like traditional sewing techniques, fold-over the edge of your patch (with this system to line up the dots) and sew down the patch just inside the outside edge. Flip the canopy over, fold-under the edge of the canopy as in a traditional patch for a French-feld seam and sew around the inside edge.
Of the three patches I completed that day with the EZ Patch, the first two turned out best. The third patch ended up slightly off the alignment marks, which I was able to salvage with a little work, but it definitely didn't just fall in place. Most of the issues seemed to reside with my marks, which were made with a larger permanent marker that bled and didn't give me an exact center. Hence the need for a fine tip permanent marker for the alignment marks. A contrasting color is also critical to see the marks when sewing.
As for time, it took me about twice as long with the EZ Patch, but this was my first time. I can usually complete a basic patch in 30 minutes and it took just under one hour with the EZ Patch the first few times. Reading through and comprehending the instructions with the templates takes a little extra time as you learn the process of the EZ Patch.
In the end, personally I don't think the templates will get much use by myself since I am still more proficient and comfortable with my own method that I've adapted from several other riggers. But, teaching my method to someone else seems overly time-consuming for the sub par results that result.
Teaching a new rigger how to patch with the EZ Patch templates will have a higher level of immediate success than any other method currently available. This is a great tool for the beginning rigger, a rigger who does only a few patches a year or the rigger who has never learned a patching technique they are comfortable with using.
The EZ Patch method is what is taught now by Master Rigger Steve Haseman during our ChutingStar Parachute Rigging School courses.
The full EZ Patch manual is at this link.
For more information and to order the EZ Patch templates, see the listing on ChutingStar.com at this link.
To get individual training on how to patch a canopy or to enroll in our ChutingStar Parachute Rigging School, see our listings and info at this link.