Do You Know Your Rig?
(Also published in Australian Skydiver Magazine)
Many times when a skydiver purchases their first rig there is a lack of information or education on how to care for their rig.
The following detailed list I put together in 1999 to give to everyone who purchased their first skydiving rig. It has been updated every year since then, and now applies to all skydivers for help inspecting their gear. It is a great resource for all new skydivers as well as for seasoned skygods who have had some downtime.
Enjoy...and tell others to check it out.

The Basics
- Familiarize yourself with the location and shape of your main pilot chute, cutaway and reserve handles on the ground. These handles might be in slightly different places than the rigs you used during student status because this rig was custom-made to fit you. Other rigs may have been slightly big or small on you. The shape and feel of the handles may be different as well. Familiarize yourself with the location and operation of the Reserve Static Line, or MARD, mudflap altimeter and hook knife, if your rig has these options. Consult an instructor or rigger if you ever want to disconnect your RSL/MARD on a permanent basis.
- The packing data card contains all the legal information required by the Federal Aviation Administration and is located in its own pocket under the reserve flap, under the shoulder or on the backpad. Ask a rigger if you have trouble locating the pocket or packing data card. This data card contains the manufacturer, serial number, model and date manufactured of each component. It also has a history of the work performed by FAA riggers and the date your gear was last serviced. Your reserve parachute and container must be aired, inspected and repacked every 180 days (in the United States) by an FAA rigger. ChutingStar currently charges $75 for this service and normal turnaround time is 2 days. During a reserve inspection and repack, other services may be required such as maintenance, repairs, canopy strength test or service bulletin work. These services are charged on a per item or hourly basis. Testing record/results are noted on the packing data card.
- The automatic activation device (AAD) control unit is located under the reserve flap or on the backpad. The unit should be turned on at the drop zone prior to making your first jump of the day. Most are turned on by pushing the button once (a short, quick push), followed by pushing the button in the same manner each time the LED lights up. The CYPRES is ready for use when the countdown stops and stays on 0. The Vigil is ready for use when it reads “Pro.” The m2 is ready for use when the appropriate Function Mode display of triangles and lines are showing. There is no need to turn off the CYPRES or m2 at the end of the day, as both turn off automatically after 14 hours (although the m2 says you save battery if you turn it off when done jumping). It is recommended to turn off the Vigil at the end of a day of jumping as it can stay on indefinitely if you start traveling in your car with your Vigil before it turns off.
- Know your AAD service requirements. See detailed info on those requirements based on the brand, type and DOM at this link.
- Replace your main closing loop whenever it becomes frayed or worn. Make sure the loop is the correct length to keep the main container properly closed. A loop too long can allow the main container to open prematurely. Consult the manufacturer or a rigger if you have any questions about loop length. New closing loops are available from ChutingStar in 5-packs for $8 at this link.
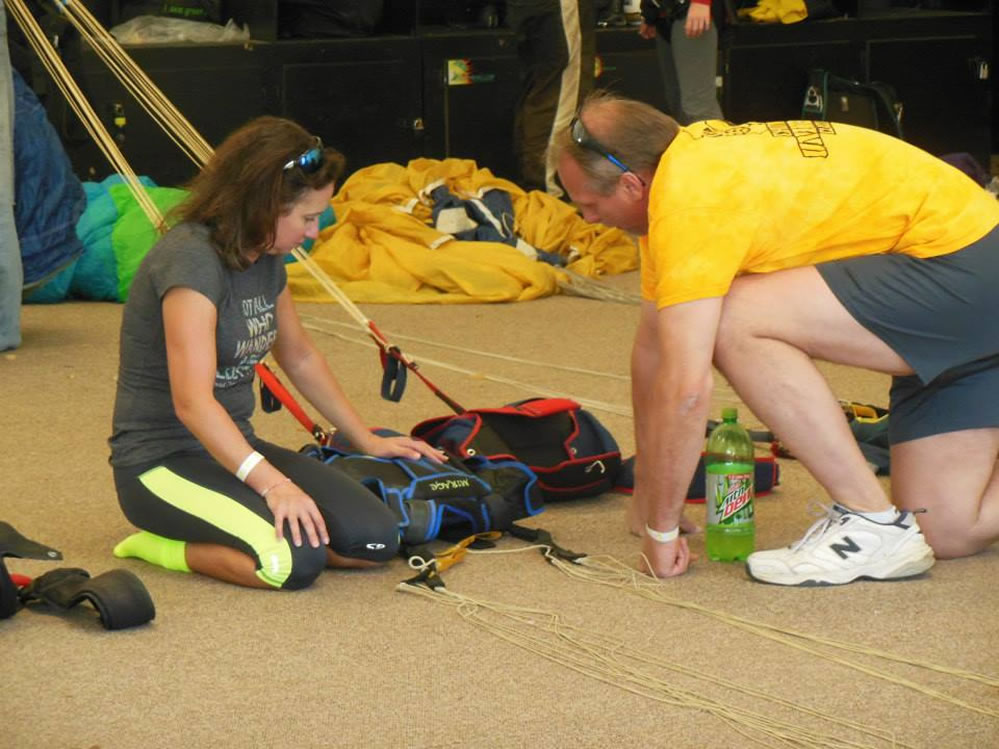
Have your rigger inspect your main parachute after every 100 jumps. ChutingStar currently charges $25 for this service. You can supplement that inspection by looking over your main before the last pack job of the day.
Inspection During Packing:
- The risers. Check the 3-ring assembly, dive loops, toggles and keepers for wear or broken stitching.
- The links. Check that the links are tight (metal) or not worn (soft links). Metal links should have bumpers that are in good condition to prevent damage to slider grommets.
- The lines. Make sure all the bartacks are in place and the lines are not damaged, broken or frayed. Take all the twists out of your steering lines by walking the line from the canopy to the toggles, pinching the line between your fingers. Then set the brakes again.
- The canopy. Check seams and surfaces for snags, stains, rips, holes or missing stitching.
- The bridle. Check that the bridle is securely attached to the canopy, main deployment bag, pilot chute and pin. All twists should be removed and metal links should be tight.
- The main deployment bag. Inspect for holes or snags. Inspect grommets for nicks or warps and that the grommets are firmly seated. Replace rubber bands that are broken or worn out.
- The main pilot chute. Check the rip-stop nylon and mesh for tears or high-wear areas. Make sure the handle is securely sewn on.
- Look for anything you may have missed as you pack the canopy into the container
Before Jump Inspection:
- Make sure your main deployment handle is set in the desired location and the pilot chute material is inside the pouch completely.
- Check that your main pilot chute is cocked. Color should be showing through the bridle window.
- Check that the bridle is routed correctly and sufficiently hidden and secured with Velcro.
- Check that the main pin is seated, pointing up and the loop is in good condition (not frayed).
- Close main pin cover flap and make sure it is secure.
- Check the reserve pin to make sure it is seated and sealed. The reserve loop should be in good condition (not frayed).
- Set the AAD and make sure it completes its “arming” process.
- Check the packing data card to make sure your reserve is in date (less than 180 days since assembly/pack or last repack in the U.S.).
- Close reserve flap and make sure it is secure.
- Check that the main riser cover flaps are secure.
- Make sure the 3-rings are routed correctly with the rings, loop, housing, cutaway cable and RSL/MARD.
- Check your cutaway and reserve handles to make sure the Velcro is secure.
- Check that the leg straps are routed correctly.
- Inspect the entire container and webbing for tears, nicks, holes or wear.
- Manifest, put your rig on, tighten your leg straps and chest strap and GO JUMP!!!
If you're renting gear, and are ready to buy your own rig, check out the Complete Rig Package Deals available from ChutingStar at this link.
The original text and photos from the Australian Skydiver Magazine article can be viewed here: